Monday, February 20, 2012

January Stamp Camp: Birthday Cards

Anytime I create with bright colors, I'm stepping out of my comfort zone, but I love to do it because it adds variety to my card stash.  Plus, the bright colors can be the happiest colors!  What I love about this card are all of the "stand-out" elements.  Those tiny butterflies couldn't be more adorable!  They are the best thing to come out of my Big Shot (die-cutting machine) since embossed backgrounds, like the one it made for this card  And it was fun to crank up the crimping tool for the Pink Pirouette strip as an alternative to ribbon.  Lastly, my Stampin' Write markers came in handy for the coloring in of the "i" in Birthday, and for coloring the word "HAPPY" using the omitting technique (the words "Happy Birthday" are all part of the same stamp).  I made sure to make several extra copies of this card (as well as the following ones) for my own personal birthday card stash for 2012!

This new dinosaur set really caught my eye; I am really excited to have it and use it, a lot.  I'll definitely be pulling it out again for my "Cards for Men and Boys" camp in May, if not sooner...but I couldn't pass it up for the Birthday Cards camp.  I loved the connection between the diamonds in this Big Shot embossed background and the pattern on the dinosaur's back : ), which we enhanced with the rubber brayer and a little Crumb Cake ink.  One of the most fun features of this card though was getting to use the Stampin' Pastels (the chalks) to add the dinosaur's color.  Very soft and subtle against the bold and fun patterns, don't you think?

I love this fold pattern!

You gotta love the cute sayings that come with this stamp set.  The other word stamp included says "I dig you."  Love it.

We didn't make this card at this month's camp; it was made at one of my camps in Oregon.  I just wanted to show it to you here because it is what I used as a model for the folds and the layout of my dinosaur card above.  It's fun to showcase two very different looks for the same layout. 

The greens used in this card (Wild Wasabi ink and card stock) are almost identical in real life, but my camera didn't pick them up equally (not sure why)...so just pretend that they look the same here too, k?  : )  This card's focal point was brightened up with the emboss-resist technique;  we used sponges to add the color on top of the clear embossing.  The Big Shot supplied the Polka-dot background, a Stampin' Write marker helped again to make the little flowers under the focal point, and the Scallop Edge Punch and the sparkly rhinestone added the finishing touches.  I like the "classy" feel of this design.  

Is your card stash full enough to get you through the year?  Don't forget that through the end of March we're having our Sale-a-bration special, which is the best time of the year to stock up on any supplies you might need!  And...if you have supplies but you just need a little motivation to get creating again, please drop me an email and we will put our heads together to see how I can help you get some cards made...even if it means me designing some cards and sending you the pre-cut card stock!  I would love to help you be prepared for your special occasions this year, so please stay in touch!  Inky hugs to all of my favorite stamping friends!!   -Jenna

Wednesday, September 14, 2011

It's a "Jenna's Back in Business" Sale!

Click HERE to see the full e-card--and learn the details of my FREE SHIPPING sale! 
offer ends September 24th.

Tuesday, September 13, 2011

The Holiday Mini Catalog is Here!

It's my favorite Mini Catalog of the year--the Holiday Mini! It's full of exciting and new products for Christmas, Halloween, Valentine's Day, Fall, and of course products that can be used all year when you let your creativity run free.  Enjoy the pages in this booklet and start planning your holiday projects today--and then make sure you share with me your excitement...it's more fun when you share, right?

Happy Stamping!
-Jenna

Click here to flip through the new Holiday Mini Catalog

Thursday, July 21, 2011

Farewell Oregon Stamp Camp

There are no new fancy techniques for this card, just simple stamping with gorgeous Stampin' Up! Designer papers.  Don't forget the Stampin' Dimensionals to make the center piece stand out a little more.
Artistic Etchings is one of my favorite stamp sets.  I don't have a personal connection with the Eiffel Tower, but I just love the artist's pen-and-ink style of these images, combined with two of my favorite background stamps, En Francais, and Baroque Motifs.  Notice also the pretty scallop edge, which is actually half of the length of a Ribbon Punch "ribbon".  Oh, and the faux pearl--so pretty!
Pick A Petal, perfect for bug wings and leaves and of course, flower petals.  And flower centers (if you stamp and then use your circle punches).
This was a card we made a couple of years ago.  I borrowed this design to inspire my new project for this camp, below.
Sponging around the edges of each piece of the mosaic, and adding a few scalloped edges here and there made this card a favorite for me. 


Jenna asks:  can you think of one or two people that deserve a thank you card this week?  Send one!  You'll be glad you did. 

I really and truly appreciate your comments : )!

Friday, June 10, 2011

Make it Masculine

June stamp camp theme:  "Make it Masculine"
Cards for men and boys


Men, boys, camping, s'mores.  They all go together.  (I'm happy to be camping, too--so I know there are other ladies out there that would love this, or any of these "man-worthy" cards.)  The Big Shot helped us make the cracker dots on the front, along with our paper trimmer and a scoring blade.  Don't forget the corner rounder for the marshmallow, and the scallop circle for the bites!
I love this idea for a "pocket" on the inside of the card--it's just a little flap.  The size of this card is just 1/2 a sheet of card stock (half a sheet measures 5 1/2" by 8 1/2"), and when it's folded and the inner flap is made, it's square: 4 1/4" x 4 1/4".  Inside, it's just the right side of the card that loses 1-1/4" of its length (the size of the flap on the left side).

This card was one of my favorites, and I'll admit it's not my own design--I eagerly copied it from an un-known (or not-remembered) online source.  The panel on the left side was made with a soft Stampin'  Up! sponge dabbed in Old Olive ink and rubbed directly onto the card, which was masked off with two large Post-it notes.  The trees were spiced up with the Stampin' Write markers and the "thumping" technique (adding different tones of green to the branches). 
Faux buttons--so cool!  To make this button, I punched four 3/4" circles, and one ring of the same size (punch a 1/2" circle and then punch around that with a 3/4" circle) out of Old Olive card stock.  I glued all the layers together.  I punched the button holes through the center with my Crop-a-dile (awesome tool for punching holes through very thick things).  Lastly, I coated the button with Crystal Effects.  It takes about 30 minutes to dry.  You can also make small heart-shaped buttons, or flower-shaped buttons; any shape you wish to punch!

Here's the simple front of the card you see in the next two photos.  As a small detail, but worthwhile--we added a little color to the bodies of the mosquitoes with the Versamarker.


The FUN of this card was mainly on the inside : ).  Who can resist these cuddly campfire friends?


This stamp set has been on my wish list for a long time, and I finally felt it was the right time to buy it.  It's a good thing I finally caved because now it's on the retiring list!  I especially love the combination of the two themes here, "time" and "father"--a fitting thought for remembering dads on their special day.
I hope you enjoyed the masculinity of my presentation today : ).    Leave a note to let me know what your favorite card or technique was, okay?

----
Jenna asks:  What is the relationship between your dad (or brother/husband/son/grandpa, etc.) and creativity?

Sunday, April 24, 2011

So You Think You're a Big Shot Stamper?

April Stamp Camp Theme:  "So You Think You're a Big Shot Stamper?" 
(projects with cool techniques involving the Big Shot)

This card reminds me of a pretty prom dress.  It includes the "faux tin" technique--the silver paper you see here was actually blue card stock, that was coated in silver embossing powder, then sent through the Big Shot machine to cut out the flower die (the two smaller flowers were made with a punch).  Then the flower die was sent through the Big Shot one more time to add the texture that made the same background for the white portion of the card.  Fancy schmancy, wouldn't you say?

I saw this technique online--and had to watch a whole tutorial to figure it out!  How did I make the flat strip for the words in what seems to be the middle of the flower design?  Easy!  I put the embossing folder on twice--sideways both times, so I could exclude the last 1 1/4" of the card the first time, and then include only that last 1/2" or so the 2nd time.  Pretty tricky!

The Big Shot's gray texture plates we use usually don't make as pronounced a design as the embossing folders, unless you use this technique:  rub ink (on this card we used Marina Mist blue) all over the gray texture plate before running it through the Big Shot.  The impressed image will appear raised and outstanding.  We added a jumbo wheel design (in dark brown) and a few extra flowers for extra texture.  It's all about the texture for me, baby.  Love that texture.  Or is it--Lovell that texture?  : )

I love this technique--after sending your paper through the Big Shot in this fancy embossing folder, flip it over and brayer ink over the recessed image!  We also made the words here with a Big Shot die--very easy to do if you add adhesive to the back of the letters before you punch them out (probably a lot easier to understand if you see the demonstration...maybe this blog will have tutorials in its future?), then press the letters to the card individually with a stylus or the back of a paint brush, and peel the excess card stock away. 

Here's a closer view so you can see the fancy glittery flower centers, etc.

Here's a pretty card that I created (kind of copied, kind of not) while I was planning for the camp, which was not chosen for the camp.  It includes the "embedded" Big Shot technique. 

The blue circle was adhered to the orange before it was all impressed together with the Big Shot embossing folder.   Pretty cool.

One other design here that didn't make the cut for the camp, but you get to see it as a bonus Big Shot design here!  (Don't you love bonuses?)  Again, I was experimenting with the "embedding" technique, adhering the hearts (all but the front Vanilla heart) before running the green and Vanilla card stock through the Big Shot together. 

This is the inside of the above card.  I think it's a clever, fun saying, and I can't wait to see who I send this card to : ).


I hope you enjoyed seeing what we made at today's Big Shot camp! 


Jenna asks:  What makes you a Big Shot, for real?  What is something else that my stamping friends (YOU) love to do, besides stamping?  What is your number one favorite pastime besides being creative?  (...Mine's playing racquetball!)

Monday, April 18, 2011

Theme: Spring Cards

March 2011 Stamp Camp Theme:  Spring Cards

This card has a fancy fold--it opens upward just on the right half.  We pressed the vase directly into the ink pad surface for a new inky-texture.

My campers were relieved to find out that this little funny guy wasn't as tricky to put together as Goofy (see the previous post), so we had a lot of fun with this card : ).

Another fancy fold here--the card opens on the right, but only the bottom half opens (the words you see on the top are already on the "inside" of the card).  Kind of like those doors where you can open the bottom or top half of the door and leave the other portion locked, only the top portion of this card is missing.

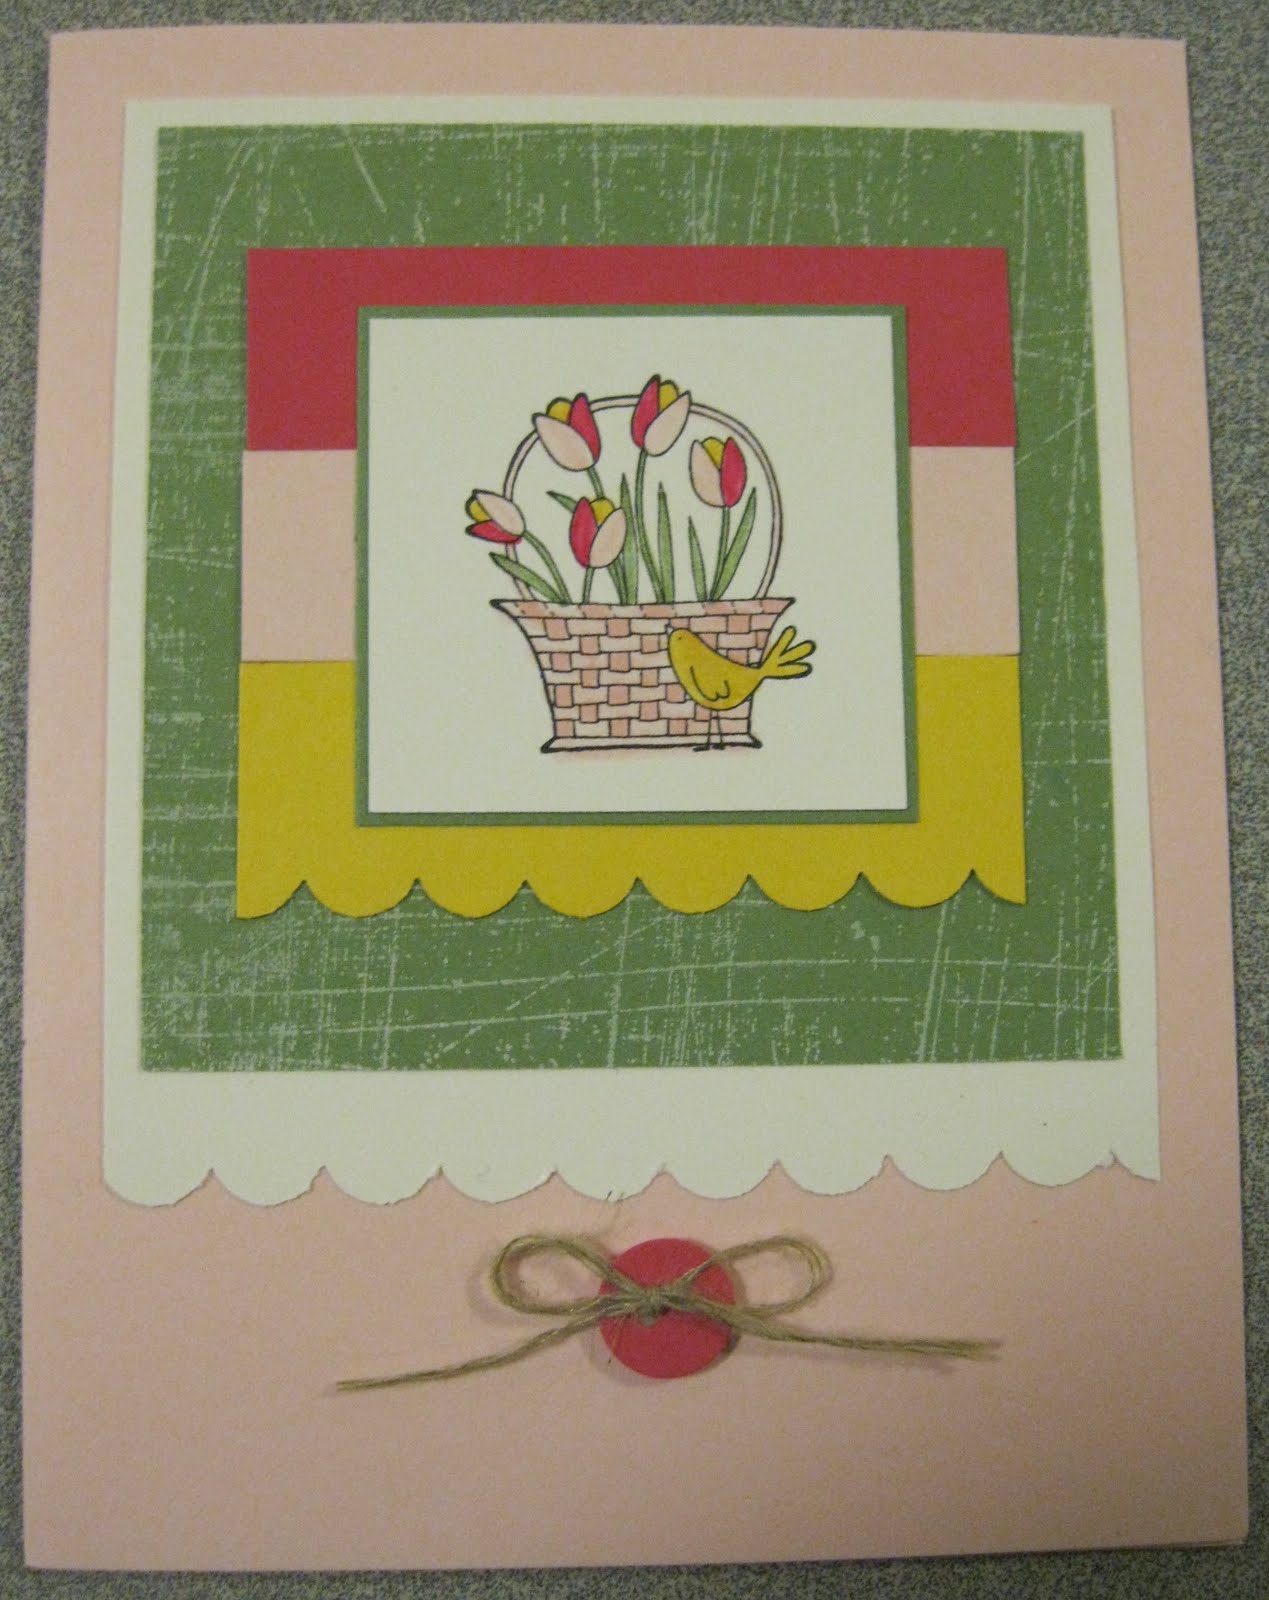
This basket is easily colored with the coordinating Stampin' Write markers.  I love that Pink Pirouette (the lightest pink) is now a permanent part of our color collection!  The faux button here is just a 1/2" circle punched out of paper, with tiny holes punched for the linen thread to tie through; then raised with a Stampin' Dimensional, of course.


Jenna asks:  Have you ever sent a card anonymously to someone who needed it?  I'd love to hear about it.